Preview & Capture
Take test shots and fine-tune your camera settings before committing to a full session.
Taking a Photo
Click Capture to take a single photo. The image appears in the main area. A brief success message confirms the shot was saved.
To take shots continuously — useful for testing different settings quickly — check Repeat and then click Capture. New images will keep arriving automatically. Click Stop to end repeat mode.
Camera Settings
All settings are saved automatically and restored the next time you open the view.
Gain
Controls sensor sensitivity. Higher gain brightens dark scenes but adds noise. Range: 0.1–16.0.
Exposure
Controls how long the shutter stays open. Longer exposures brighten dark scenes and create star trails; shorter exposures freeze motion.
| Preset | Good for |
|---|---|
| 0.001–0.01s | Bright daylight, fast movement |
| 0.1–1s | Indoor, overcast, dusk |
| 5–60s | Night sky, long exposure |
| 120–300s | Deep sky, extreme low light |
Red Gain / Blue Gain
White balance adjustment. The defaults (Red 1.49, Blue 1.55) are calibrated for the HQ Camera in natural light. Adjust if your images look too warm or too cool.
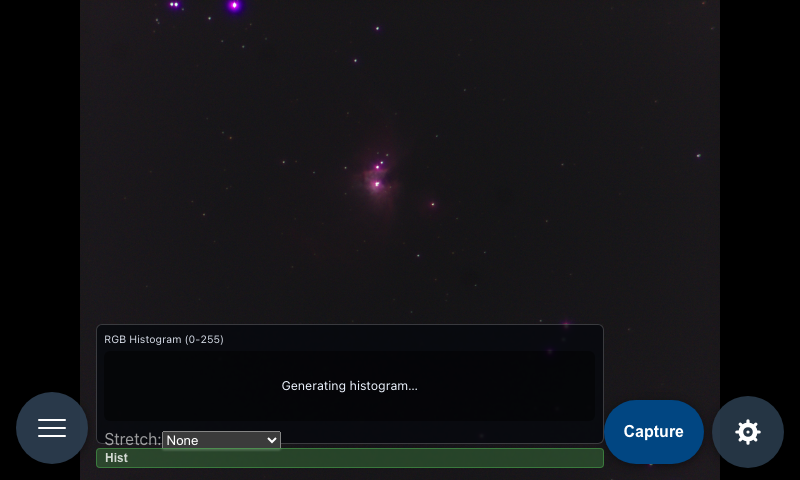
Histogram
An RGB histogram overlay appears in the lower-right of the image. Click Hist to collapse or expand it. The histogram helps you spot blown highlights (spikes at the right edge) and underexposed areas (spikes at the left).
Where Your Photos Go
Preview captures are saved to the preview/ folder on the Pi. Browse and manage them in the Photos view.