Photos
Browse, preview, and manage all photos and folders saved on the Pi.
Browsing
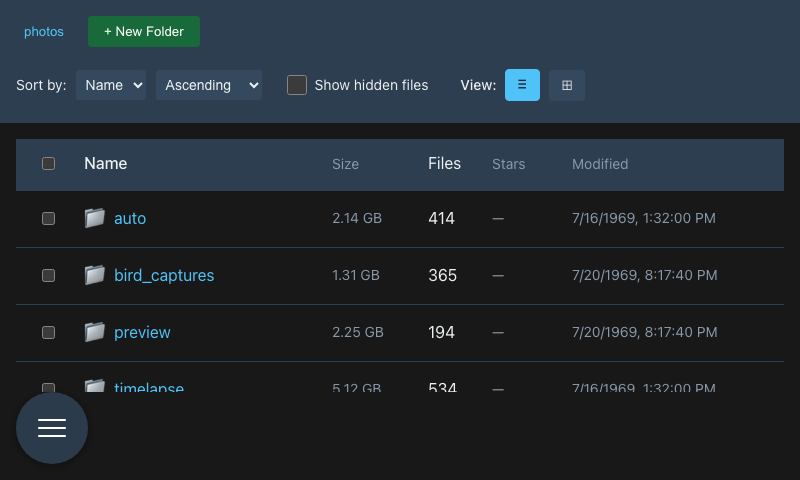
Navigate folders by clicking their names. The breadcrumb trail at the top shows your current location — click any segment to jump back up.
Toggle between list view (≡) and thumbnail view (⊞) using the buttons in the toolbar. Thumbnail view is great for quickly scanning captures; list view shows dates and file sizes.
Viewing Images
Click any image to open the full-screen viewer.
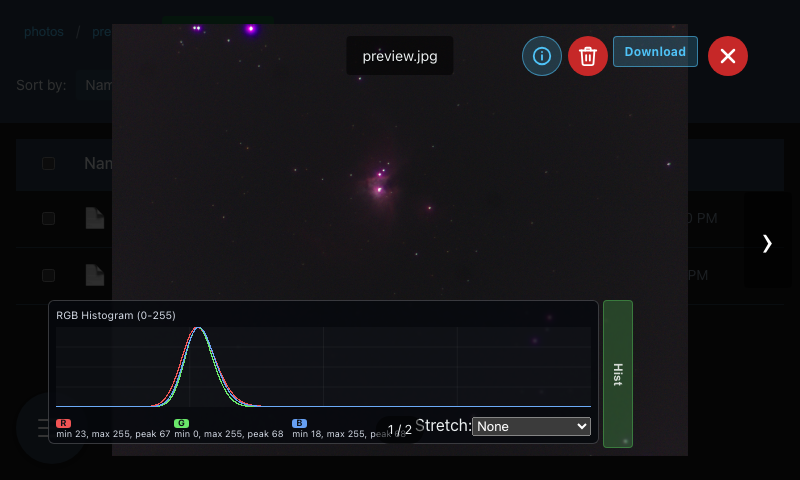
The viewer shows the full image with an RGB histogram overlay in the lower-right corner. Click Hist to collapse or expand it. Use the histogram to check exposure — spikes hard against the right edge mean highlights are blown; spikes hard against the left mean underexposure.
Viewing FITS Files
.fits and .fit files — the raw frames and stacked results from astrophotography — open in a dedicated viewer instead of the normal image lightbox. Nothing is converted on the Pi first; the file is decoded in the browser, so the numbers you see are the frame's own values, not a JPEG's.
A header line above the image shows the frame's dimensions, its BITPIX (bits per pixel) and, for a colour cube, how many planes it holds.
Zoom and pan
Pinch to zoom on the touchscreen, or use the +, − and reset buttons in the bottom-right corner. Drag to pan once you are zoomed in. This is how you check star shape, focus and trailing without pulling the file off the Pi.
The histogram and the stretch
Click Hist to open the histogram panel below the image. A stacked deep-sky frame holds its signal in a tiny part of its total value range, so how the frame is mapped to screen brightness matters more than it does for a JPEG. The Stretch selector gives you three options:
- Linear — the plain minimum-to-maximum mapping. Correct for a bright, well-exposed subject; a deep-sky stack will look almost black.
- Auto — places the black point just under the sky background, the white point just past the star field, and lifts everything between so faint nebulosity becomes visible without blowing out the stars. This is the default for live stacking.
- Manual — you place the points yourself.
Adjusting the stretch by hand
The black, mid and white points are drawn as draggable markers on the histogram itself, each labelled with its value. Drag one and the stretch switches to Manual automatically — you do not have to change the selector first.
What to aim for:
- Black just below the sky peak — the big hump on the left is your sky background. Pull the black point past it and you start throwing away the faintest detail.
- White past the star tail — the long thin tail on the right is the stars. Anything above the white point renders as pure white, so pulling it in too far flattens bright stars into featureless blobs and loses their colour.
- Mid controls how hard the shadows are lifted between the two. Drag it left to bring up faint signal, right to darken the background.
Switching to Manual leaves the image exactly as Auto had it, so it is a safe place to start from — move a marker and you are adjusting Auto's result, not starting over.
Tip: the image re-renders about a sixth of a second after you let go of a marker, not continuously while you drag. That is deliberate — a full-resolution FITS frame is re-rendered pixel by pixel in the browser, which is slow on the Pi.
Timelapse Folders
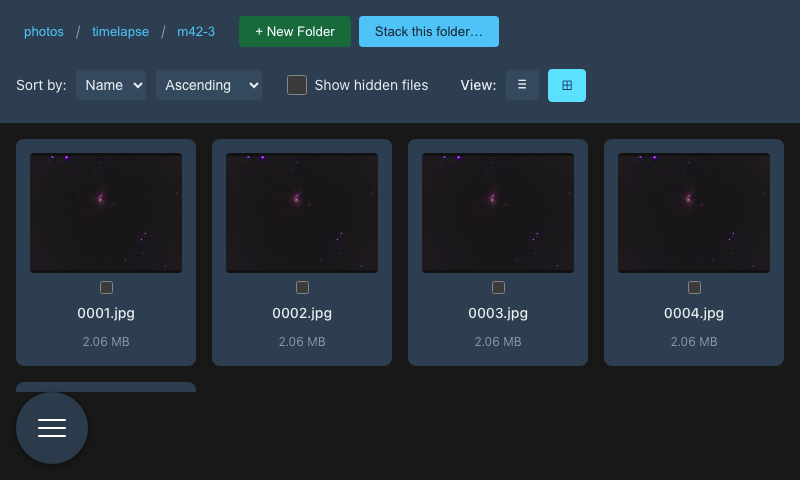
Timelapse folders open in thumbnail view automatically, showing every frame as a grid.
Sorting
Use the Sort controls to order files by name, date, or size — in either direction.
File Operations
Create a folder
Click + New Folder, type a name, and confirm.
Rename a file or folder
Select a single item using its checkbox, then click Rename.
Delete files or folders
Check one or more items — the Delete (n) button shows the count. Click it and confirm. Deletion is permanent.
Select all
Use the checkbox in the list header to select or deselect everything in the current folder.